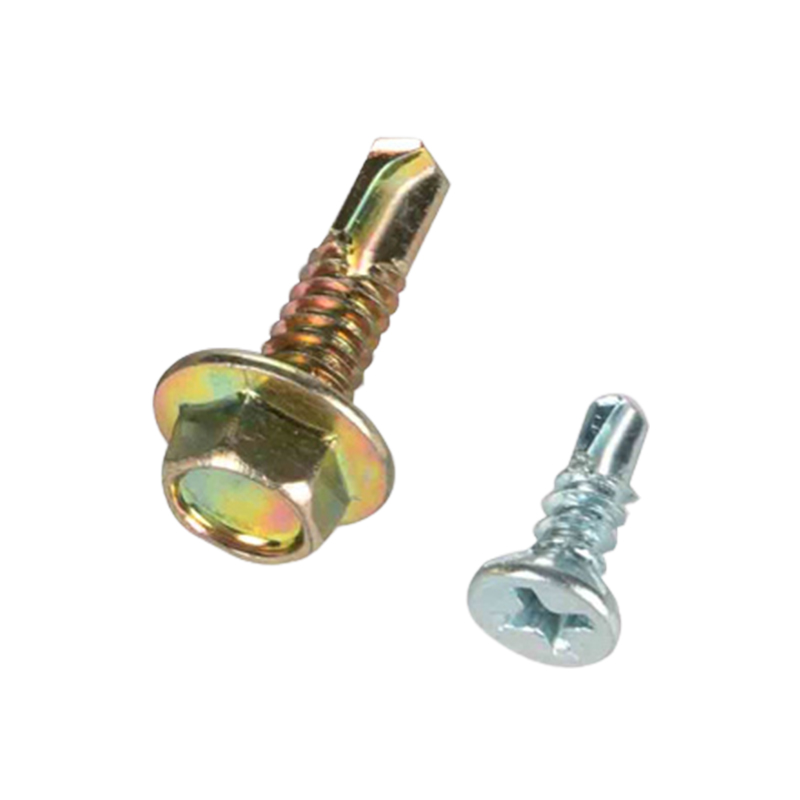
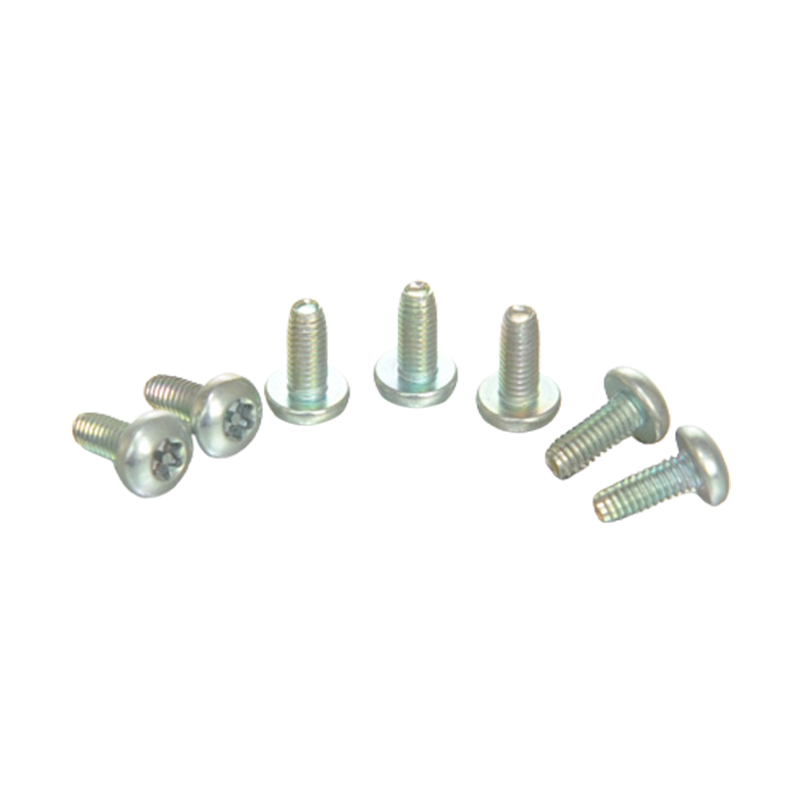
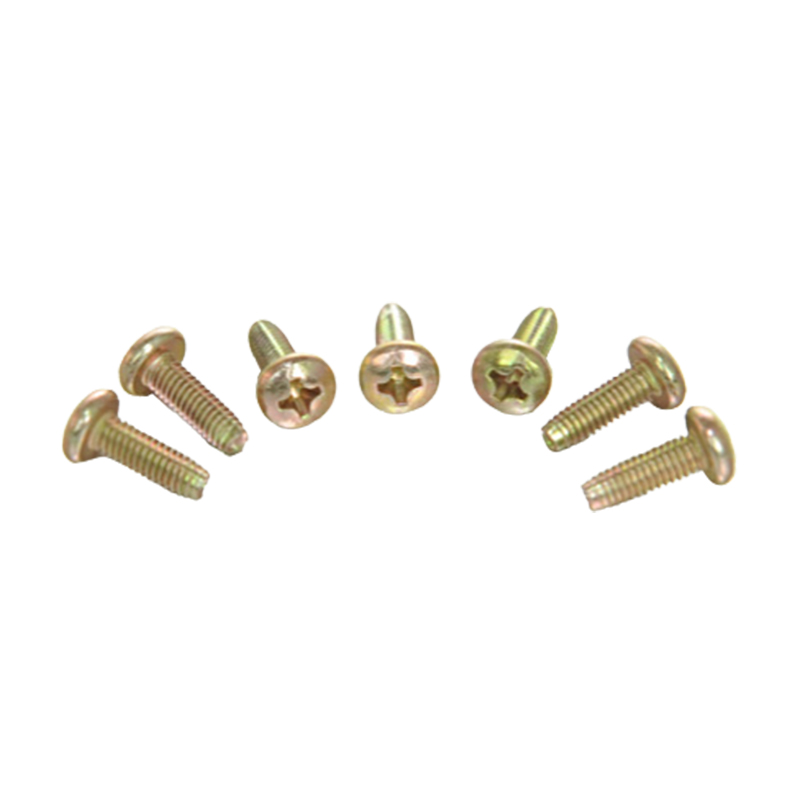
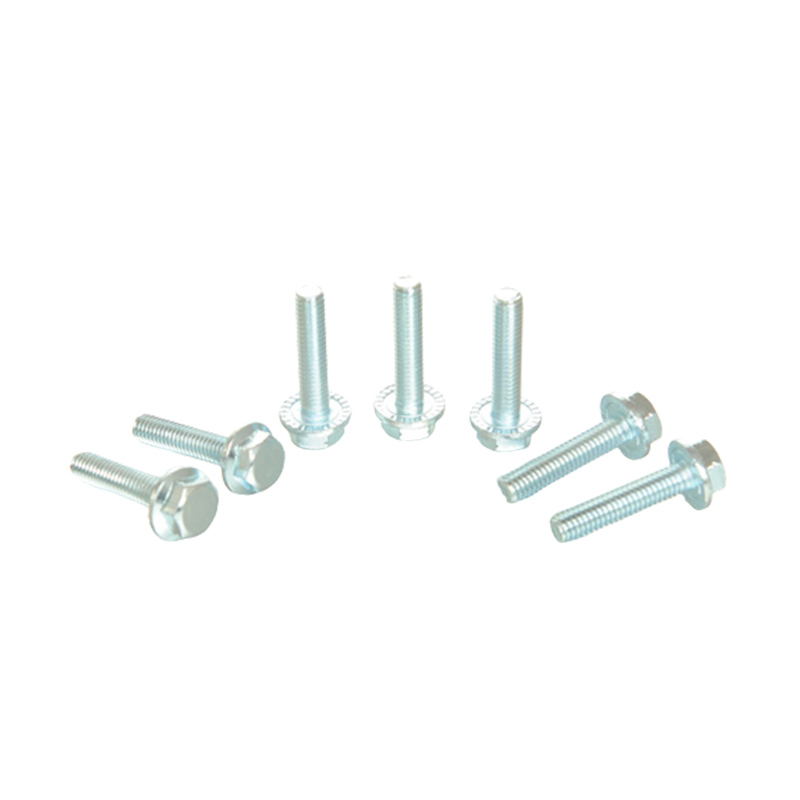
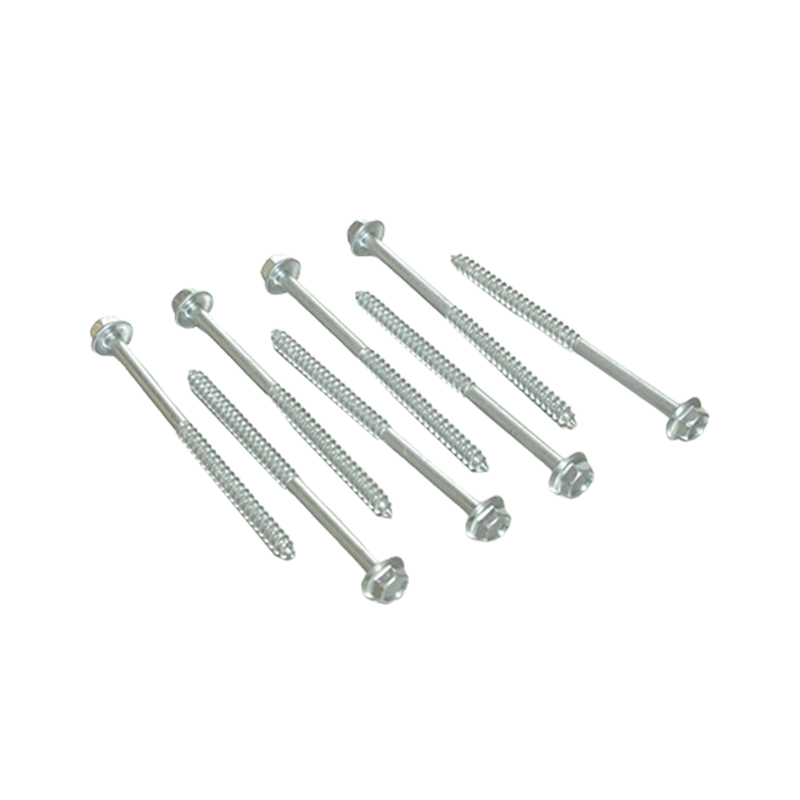
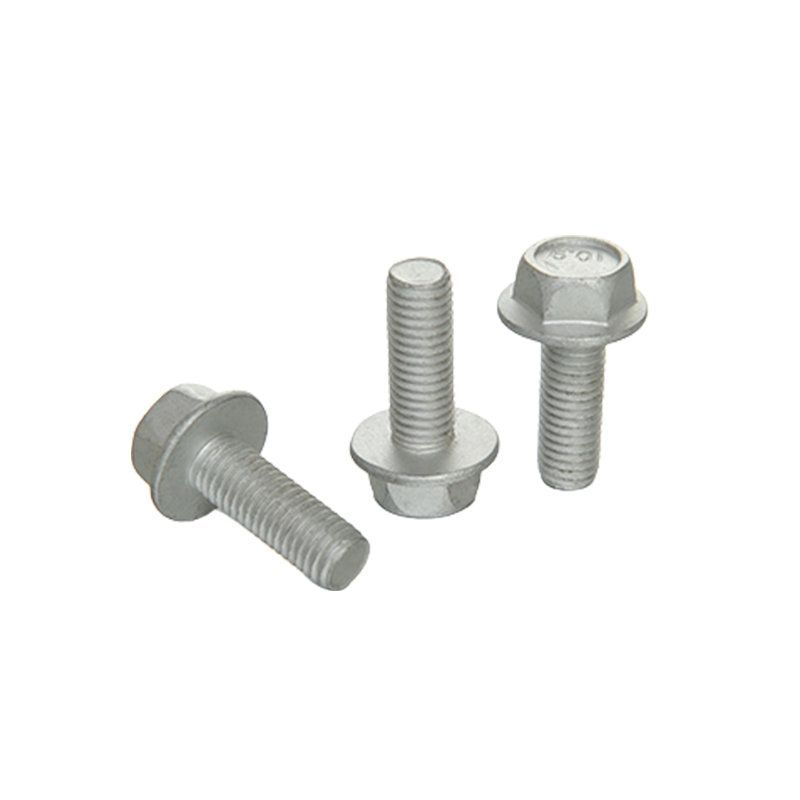
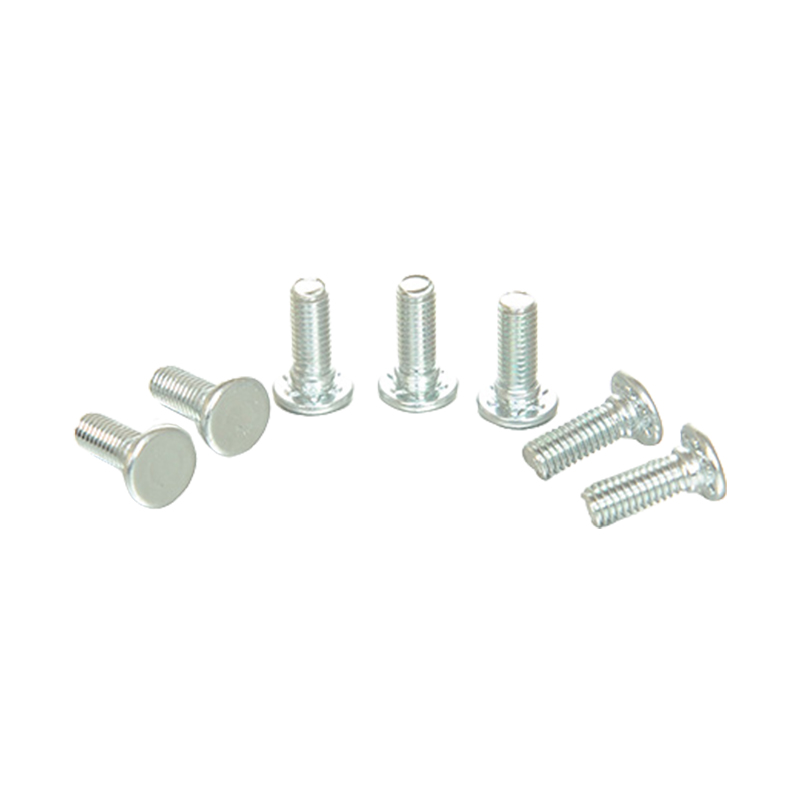
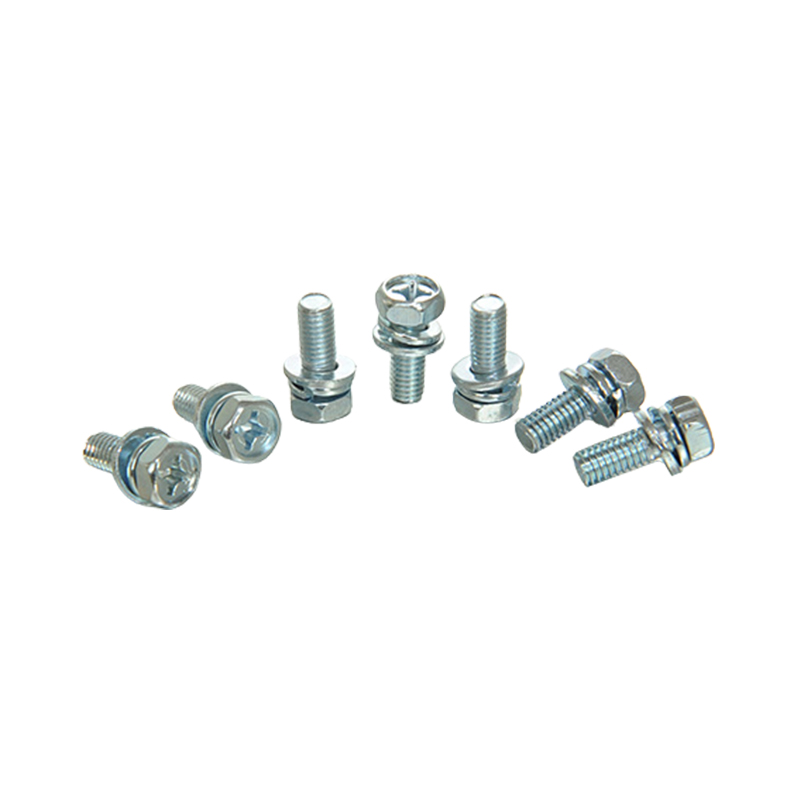
Introduction to Pressure Riveting Screws
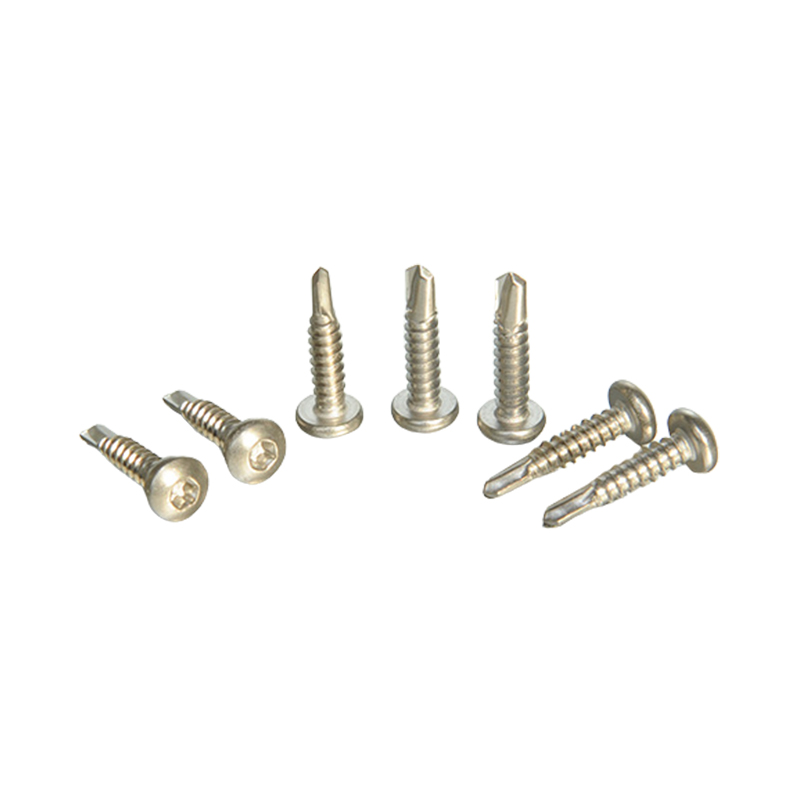
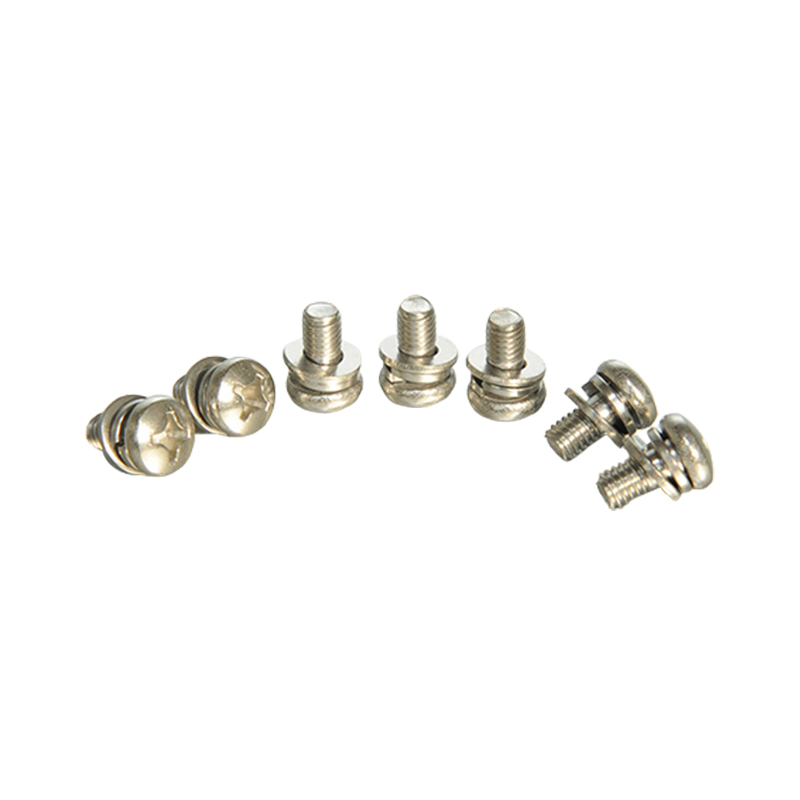
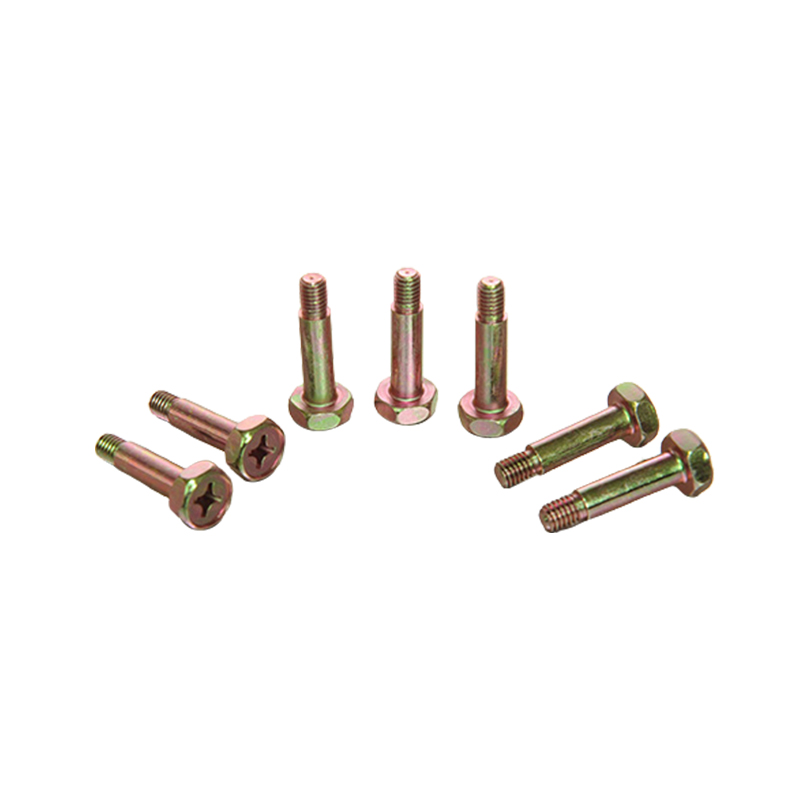
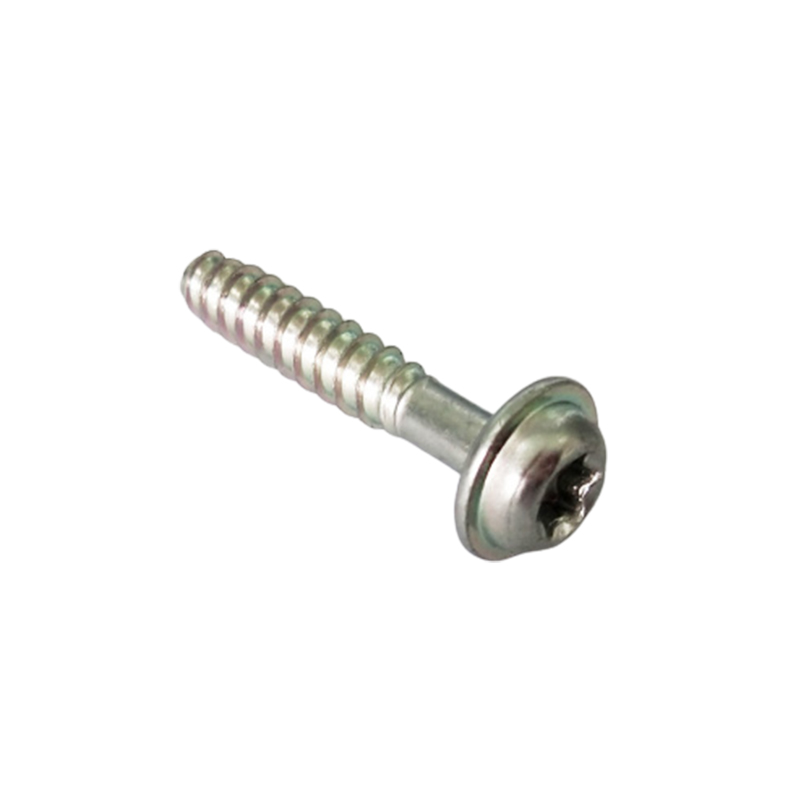
Pressure riveting screws are commonly used in various industrial applications to fasten materials together. These screws are designed to be installed under high pressure, creating a tight and secure bond between components. Over time, however, there may be a need to disassemble these screws for maintenance, repairs, or upgrades. Disassembling pressure riveting screws requires a methodical and careful approach to ensure safety, avoid damage to the components, and prevent injury. This article explores the best practices for safely and efficiently disassembling pressure riveting screws, highlighting the tools, techniques, and considerations involved in the process.
Understanding the Functionality of Pressure Riveting Screws
Pressure riveting screws differ from regular screws in that they are installed with the aid of hydraulic or mechanical pressure. The pressure creates a bond between the screw and the material, typically a metal or plastic component, by deforming the screw's head or shaft. This process provides a secure, tamper-resistant connection that is ideal for applications where vibration, movement, or external forces might otherwise loosen standard fasteners. Because of the force applied during installation, removing these screws requires special attention to avoid damaging the components or the screw itself.
Identifying the Challenges in Disassembling Pressure Riveting Screws
Disassembling pressure riveting screws can be challenging due to the strong bond formed during installation. Over time, the screw may become fused with the material, making it difficult to remove. The high pressure used during installation can also lead to deformation or distortion of the screw, which further complicates the disassembly process. Additionally, if the screw is part of a sensitive or delicate assembly, there is a risk of causing damage to surrounding components if not handled carefully. Proper planning, the right tools, and an understanding of the screw's material properties are essential to ensure a smooth disassembly process.
Essential Tools for Disassembling Pressure Riveting Screws
The proper tools are crucial for efficiently and safely removing pressure riveting screws. The tools needed may vary depending on the type of screw, the material being fastened, and the specific application. Below are some common tools used in the disassembly process:
- Impact Wrench or Pneumatic Tool: An impact wrench or pneumatic tool is often used to provide the necessary torque to break the bond between the screw and the material. These tools can deliver high rotational force, making them suitable for loosening screws that are tightly fastened due to the pressure applied during installation.
- Heat Source: Applying controlled heat can help loosen pressure riveting screws by expanding the metal and weakening the bond. A heat gun or a small torch may be used to carefully heat the screw or the surrounding material.
- Extractor Bits: If the screw head is damaged or deformed, extractor bits are designed to grip and remove screws that cannot be turned with standard tools. These bits are typically used in conjunction with a drill or screwdriver to provide the necessary torque.
- Pliers or Wrenches: In cases where the screw is protruding enough to grab hold of, pliers or adjustable wrenches can be used to manually turn and remove the screw. However, this method may not be effective for deeply seated or tightly bonded screws.
- Screwdriver or Drill: A standard screwdriver or drill with the appropriate bit size can sometimes be used to remove pressure riveting screws. However, these tools are typically less effective for screws that are tightly fastened and may require additional methods like heat or impact.
Preparing the Area for Disassembly
Before attempting to remove pressure riveting screws, it is essential to prepare the work area properly. Ensuring the area is clean and free of debris will help prevent accidental damage during the disassembly process. Additionally, it is important to secure the workpiece in place to prevent it from moving while pressure is applied during the disassembly. Using a vice or clamping system can help stabilize the workpiece and reduce the risk of accidents or mistakes. If the components being disassembled are part of a larger system, make sure that the surrounding parts are protected from heat, torque, or vibrations that may occur during the process.
Step-by-Step Guide to Disassembling Pressure Riveting Screws
Disassembling pressure riveting screws should be done in a precise, step-by-step manner to minimize the risk of damage. Here is a general process for safely and efficiently removing these screws:
Step 1: Assess the Situation
The first step is to assess the screw and the surrounding components. Check whether the screw head is intact or if it has been damaged or deformed. Examine the material and structure of the workpiece to determine the appropriate tools and methods to use. If the screw head is accessible and undamaged, the disassembly process may be relatively straightforward. However, if the screw is embedded deep within a material or the head is damaged, additional steps may be needed.
Step 2: Apply Heat (If Necessary)
If the screw is tightly bonded due to the pressure applied during installation, applying controlled heat can help break the bond. Use a heat gun or torch to carefully heat the screw and the surrounding material. Be cautious not to overheat the components, as excessive heat can cause distortion or damage. Typically, heating the screw for a few minutes should help loosen the bond, making it easier to remove the screw. Allow the components to cool slightly before proceeding to avoid burns or other injuries.
Step 3: Use the Appropriate Tool
Once the screw has been heated (if needed) or assessed for damage, select the appropriate tool to remove it. For screws with a standard head, use an impact wrench or pneumatic tool to apply high rotational force. If the screw head is damaged or deformed, use an extractor bit to grip the screw and provide the necessary torque for removal. For screws that are not easily accessible, you may need to use a set of pliers or a wrench to grip and turn the screw.
Step 4: Apply Controlled Force
When using an impact wrench or pneumatic tool, apply controlled force to avoid damaging the surrounding material or over-torquing the screw. Start with a moderate setting on the tool and gradually increase the force if the screw does not loosen immediately. It is important to avoid using excessive force, as this could cause the screw to break or the material to crack. If manual methods are being used, apply steady pressure while rotating the screw, ensuring that it is being turned in the correct direction.
Step 5: Check for Success
After applying the necessary force, check to see if the screw has been removed successfully. If the screw is loose but still held in place by debris or other material, use a pair of pliers to carefully extract the screw. If the screw is stuck, repeat the process with slightly more heat or torque. If the screw is damaged beyond recovery, it may need to be drilled out or replaced with a new one.
Step 6: Inspect the Components
After removing the screw, carefully inspect the workpiece and surrounding components for any signs of damage. Check for cracks, warping, or other issues that may have been caused during the disassembly process. If the components appear to be intact, proceed with any necessary repairs or upgrades. If any damage is found, consider replacing the affected parts before reassembling the system.
Safety Considerations During Disassembly
Throughout the disassembly process, it is important to prioritize safety to avoid injury. Always wear protective gear, such as safety glasses, gloves, and ear protection, when using power tools. Make sure that the work area is well-lit and that all tools are in good condition. Additionally, always follow the manufacturer’s instructions and safety guidelines for any tools or equipment being used. When applying heat, exercise caution to avoid burns or fires, and ensure that flammable materials are kept at a safe distance.
Alternative Methods for Removing Pressure Riveting Screws
In some cases, conventional methods may not be sufficient to remove a pressure riveting screw. If the screw is particularly stubborn, other techniques may be required. One alternative method involves using a cutting tool to carefully slice through the screw, allowing it to be removed in pieces. Another option is to use a drilling technique to remove the screw’s head entirely, after which the remaining portion of the screw can be extracted with pliers or a screw extractor. These methods should be used as a last resort, as they may cause damage to the surrounding components.
Proper Disassembly Ensures Longevity
Disassembling pressure riveting screws requires careful planning, the right tools, and a methodical approach to ensure safety and prevent damage to the components. By following the appropriate steps and using the proper tools, the process can be completed efficiently and effectively. Whether performing maintenance, repairs, or upgrades, ensuring that pressure riveting screws are removed safely will help maintain the longevity of the materials and components involved.


