 English
 Español
 日本語
日本語

A facilities crew mounting a 55-inch display in a new office hits the same wall every time. Behind the drywall there is no timber, only a light-gauge steel stud, and the bracket arrived with #8 wood screws. Within a week the display sags and the screws spin in oversized holes.
Metal studs are perfectly drillable, but the rules change completely from timber framing. The short version: the limiting factor is rarely the drill bit. What decides whether the wall stays sound is the stud gauge, how much steel you remove from the web, how far the hole sits from the flange, and what fastener goes back into it. Get those four right, and a 20-gauge partition will carry a display, a boiler, or a run of cabinets without complaint.
Stud Gauge Is the First Thing to Check
Cold-formed steel studs are sold by gauge, and gauge runs backwards against thickness: the higher the number, the thinner the steel. A 25-gauge stud flexes under hand pressure, while a 12-gauge stud is structural material that will dull a low-cost bit within seconds. Two studs can look identical from the front and differ threefold in wall thickness, so confirm the gauge before choosing a fastener or a pilot hole size.
A digital caliper costs less than a box of screws and settles the question with one pinch on an exposed cut end. Where the stud is already covered, a magnet plus light resistance testing tells you whether you are on 25 or 20 gauge partition stock, or on 16-gauge and heavier structural stock.
| Stud gauge | Nominal thickness | Typical duty | Practical fastener approach |
|---|---|---|---|
| 25 ga | 0.018 in | Non-structural interior partition | Sharp-point fine-thread drywall screw |
| 20 ga | 0.033 in | Interior partition, light cladding | Self-drilling #6 to #8, fine thread |
| 18 ga | 0.043 in | Light structural framing | Self-drilling #8 with a #2 point |
| 16 ga | 0.054 in | Load-bearing wall framing | Self-drilling #10 to #12 |
| 14 ga | 0.068 in | Structural, high-load framing | Pilot hole, then #12 to #14 |
| 12 ga | 0.097 in | Heavy structural framing | Pilot hole, then self-tapping machine screw |
How Much Steel You Can Safely Remove
Every hole in a stud web is a small deduction from its capacity. A single 1/4-inch hole centred in a 20-gauge web is normally harmless. A cluster of 1-inch holes along the same stud, or a hole that creeps into the flange, is where frames start to bow and drywall joints start to crack.
Structural guidance for cold-formed steel puts a ceiling on unreinforced web holes at roughly half the stud depth, and generally no more than about 2-1/2 inches, whichever is smaller. Holes should sit centred in the web with a clear margin from the flange and should be spaced apart rather than lined up in a vertical row. Flange and corner material should be left alone entirely.
Maximum unreinforced web hole diameter by stud depth
On a load-bearing stud, do not read those figures as permission. Where a service penetration is unavoidable, an engineer will normally call for a reinforcing plate or a stud shoe rather than a larger hole.
Choosing the Right Fastener for the Connection
Fastener choice follows the connection rather than the stud. Three families cover almost every job on a metal-framed wall, and the decision path is short.
- What are you attaching?
- Metal to metal (track, bracket, clip): self-drilling screw, pan or hex washer head, #8 to #10
- Board to metal (drywall, sheathing, panel): fine-thread sharp point on 25 gauge; self-drilling on 20 gauge and heavier
- Heavy fixture (display, cabinet, water heater): through the web with a machine screw and metal toggle, or a #12 self-drilling screw with a bonded washer
- How thick is the steel?
- 25 to 20 gauge: no pilot hole, light pressure, low speed
- 18 to 16 gauge: pilot hole only for larger diameters, or a true #2 drill point
- 14 to 12 gauge: pilot hole first, then a self-tapping machine screw with a #3 point
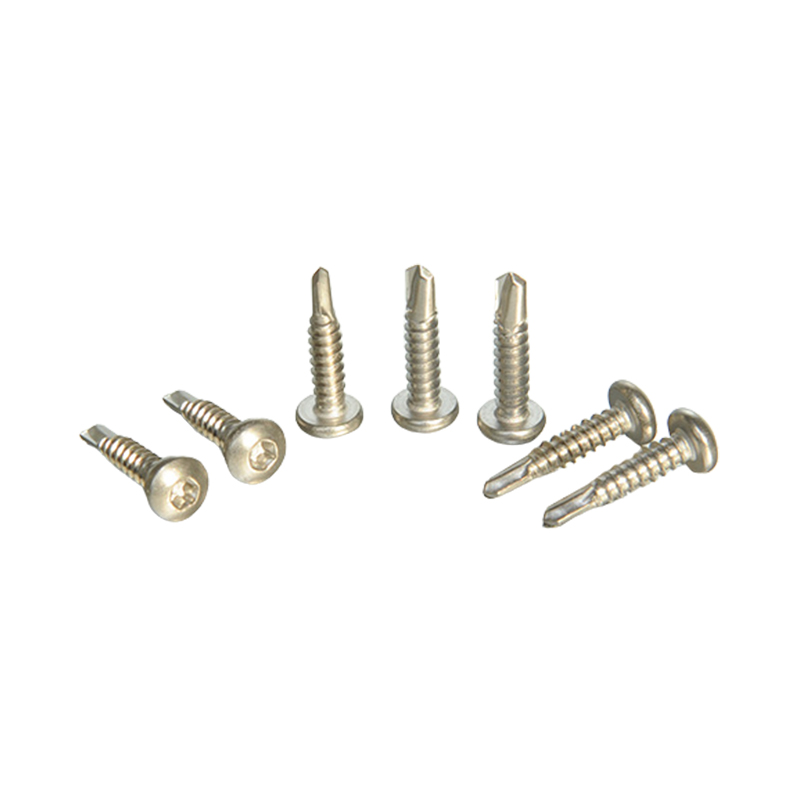
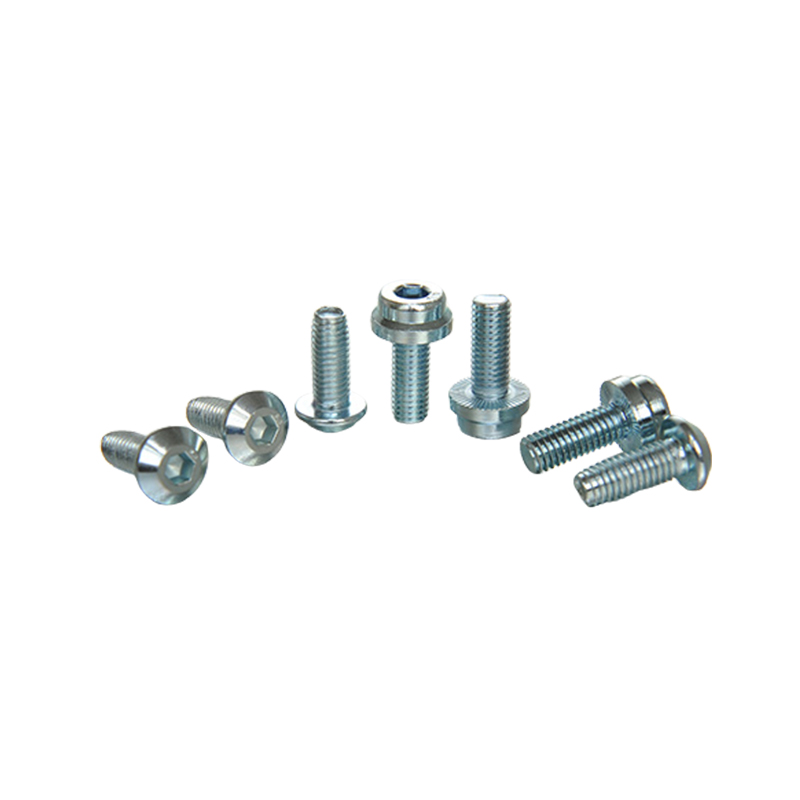
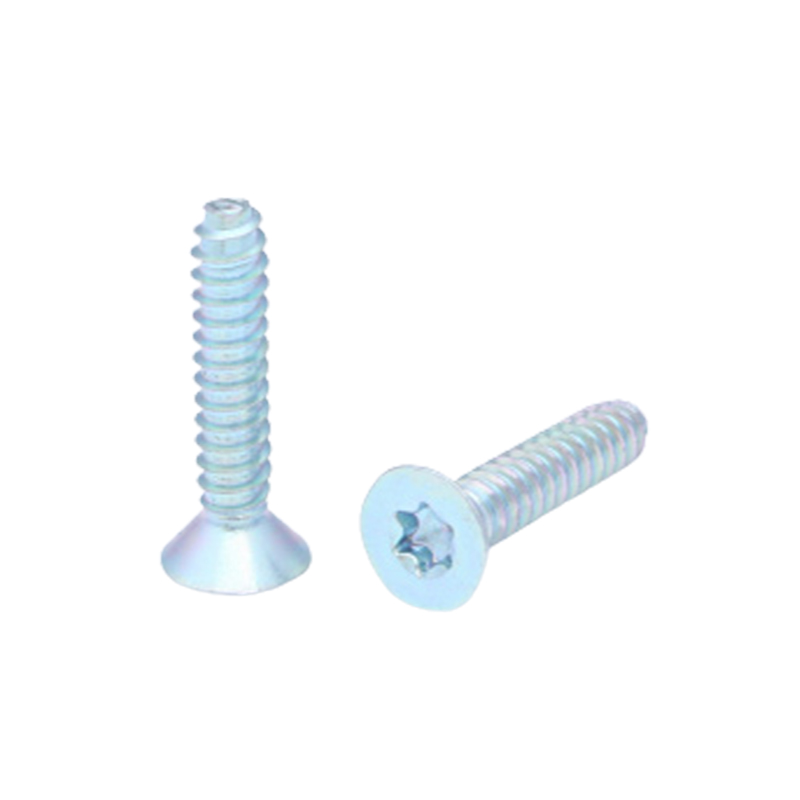
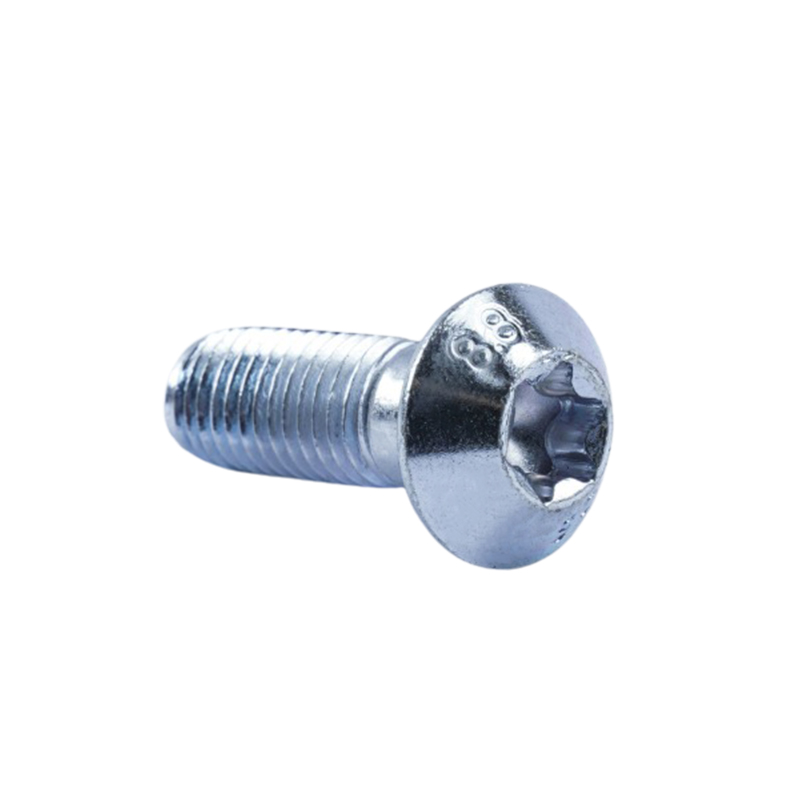
Self-drilling screws are the default for metal-to-metal work. They carry their own drill point, cut their own hole and form a thread in a single pass, which is why a #8 or #10 with a #2 point handles track-to-stud, clip-to-stud and stud-to-stud connections in 20 to 16 gauge steel.
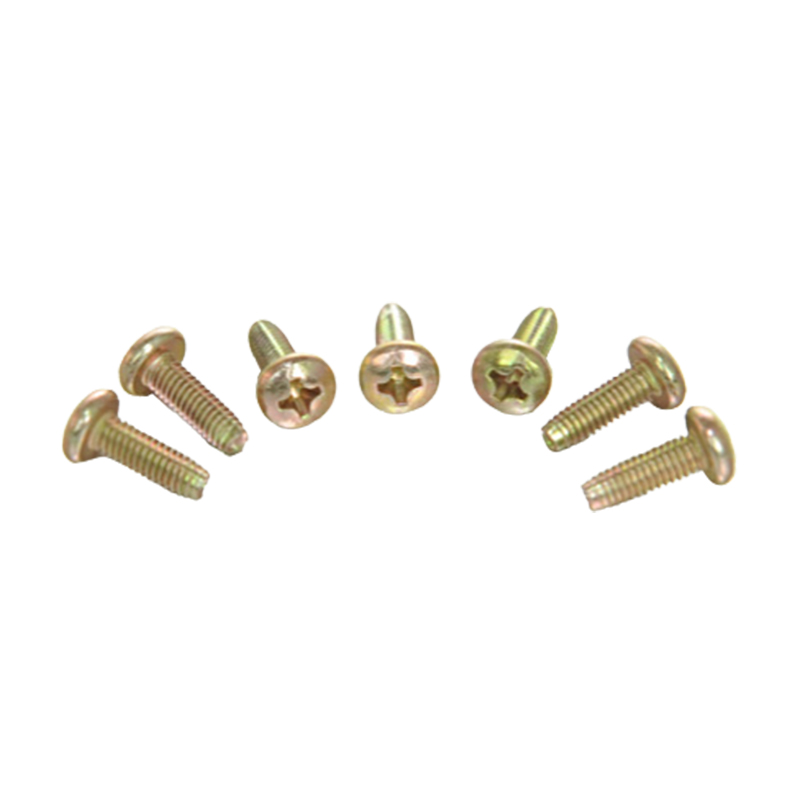
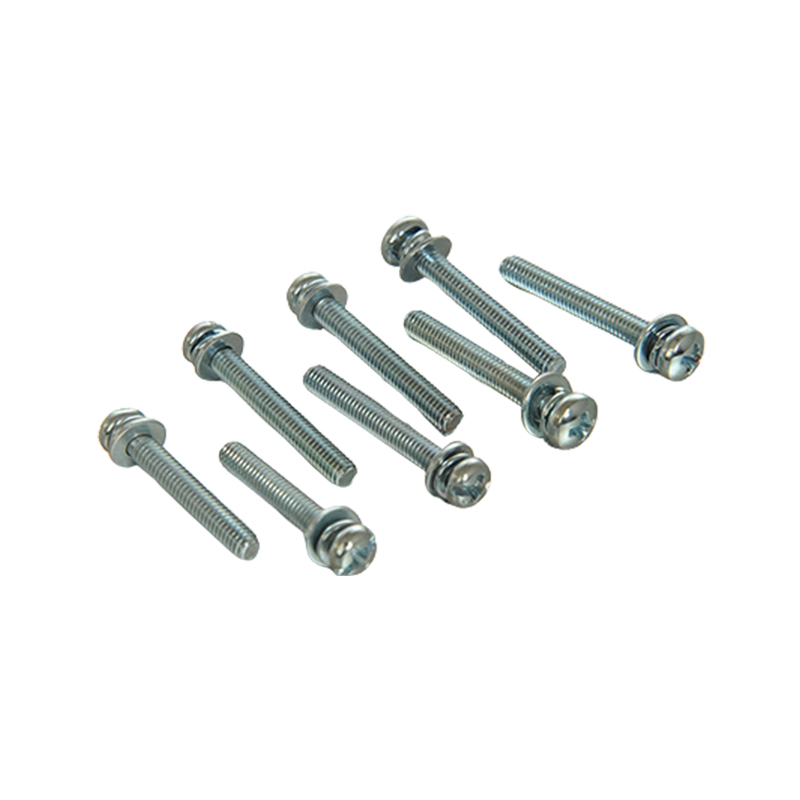
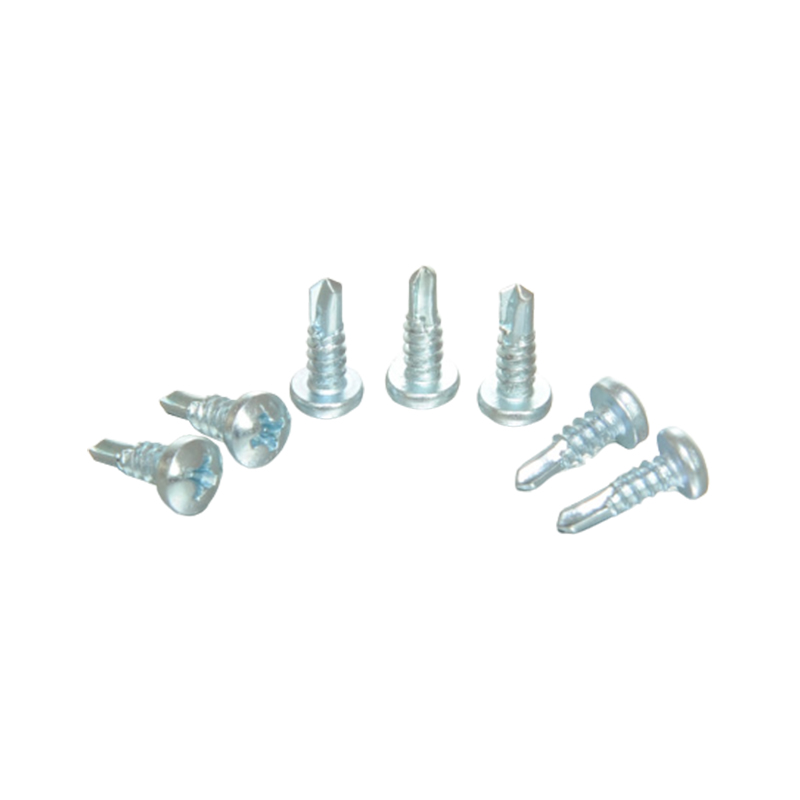 Cross Pan Head Self-Drilling ScrewFor metal-to-metal assembly, this cross pan head self-drilling screw cuts its own hole and thread without pre-drilling, saving time on repeated fixings.View Product →
Where a joint has to resist vibration, a locking thread form holds torque far better than a plain self-drilling screw, and the difference shows up as fewer callbacks on equipment brackets and access panels.
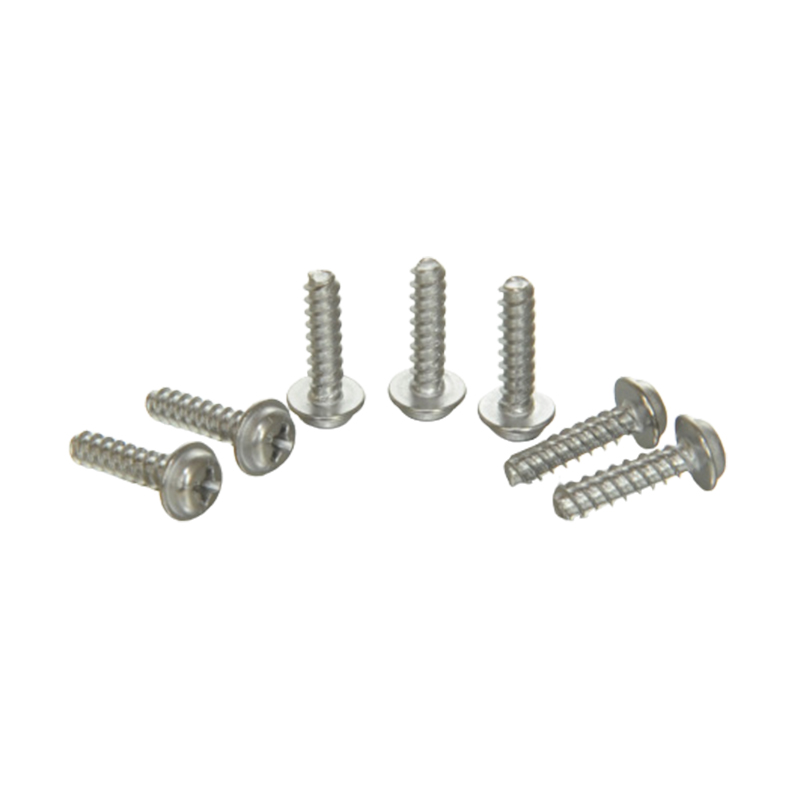
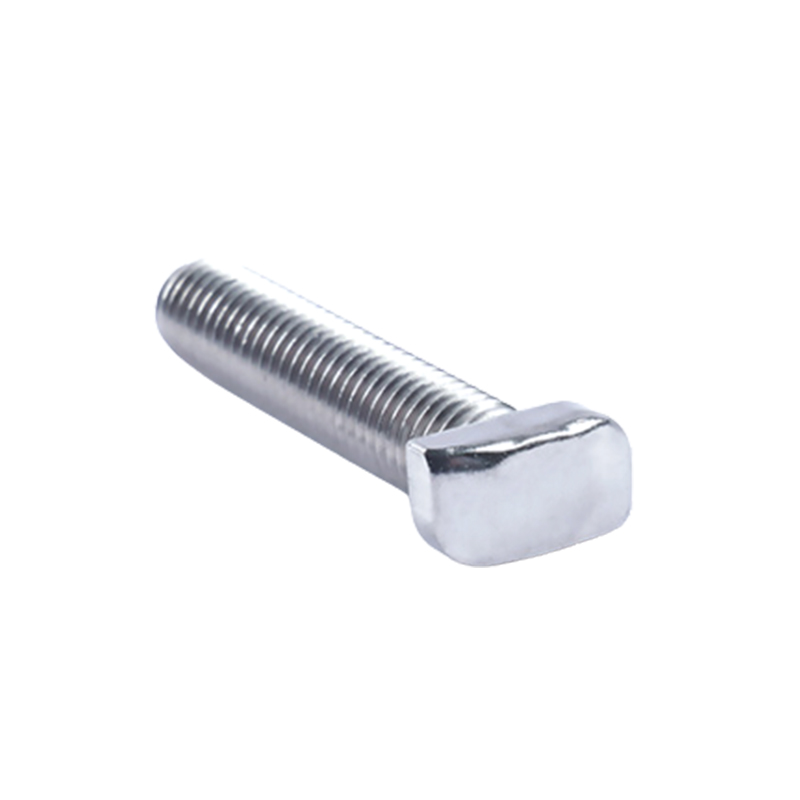
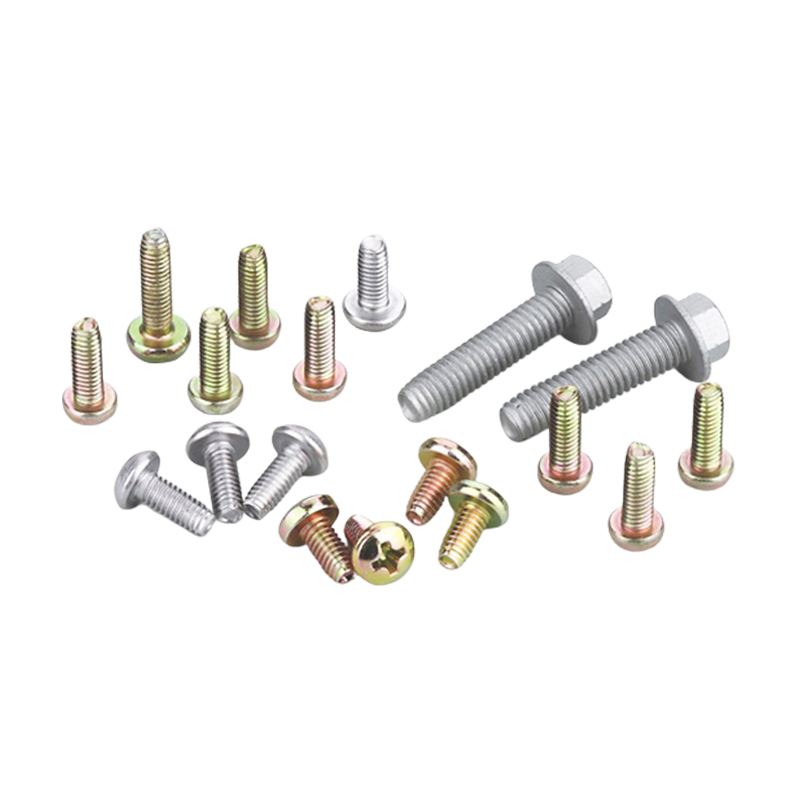 Metal Self-Tapping Locking Screws for Vibration-Prone JointsThese self-tapping locking screws form their own threads and resist loosening under vibration, making them relevant for equipment brackets and access panels.View Product →
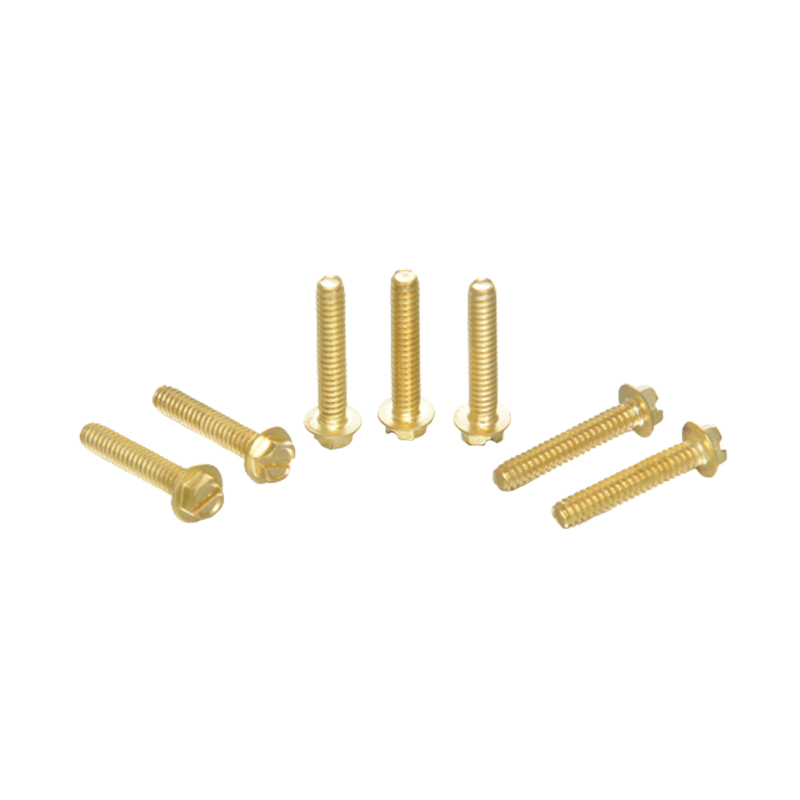
For brackets that carry real weight, a flanged washer head spreads the load across a wider area of thin steel and greatly reduces the chance of a head pulling through.
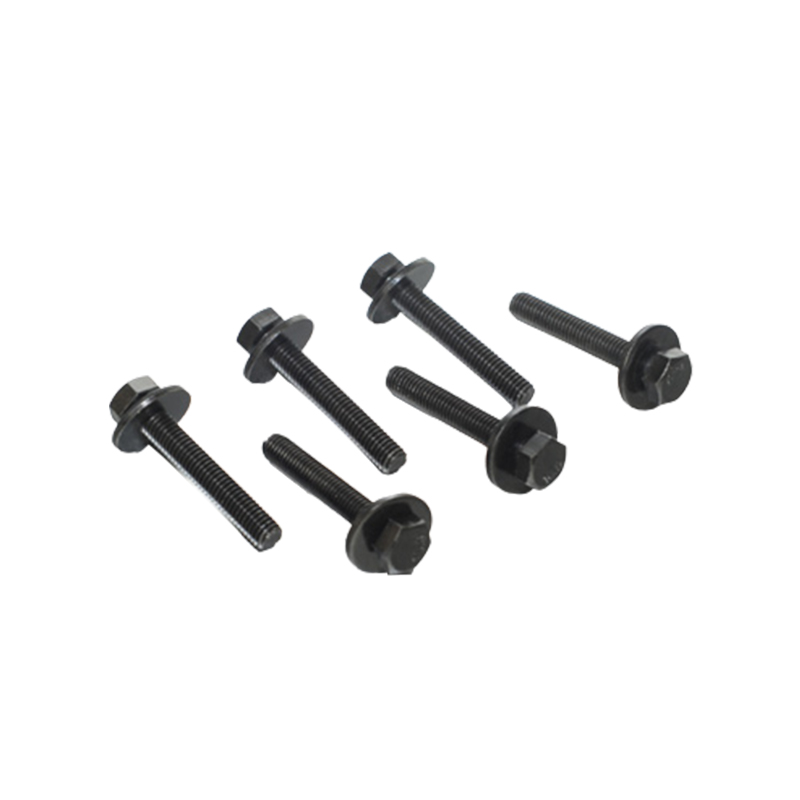
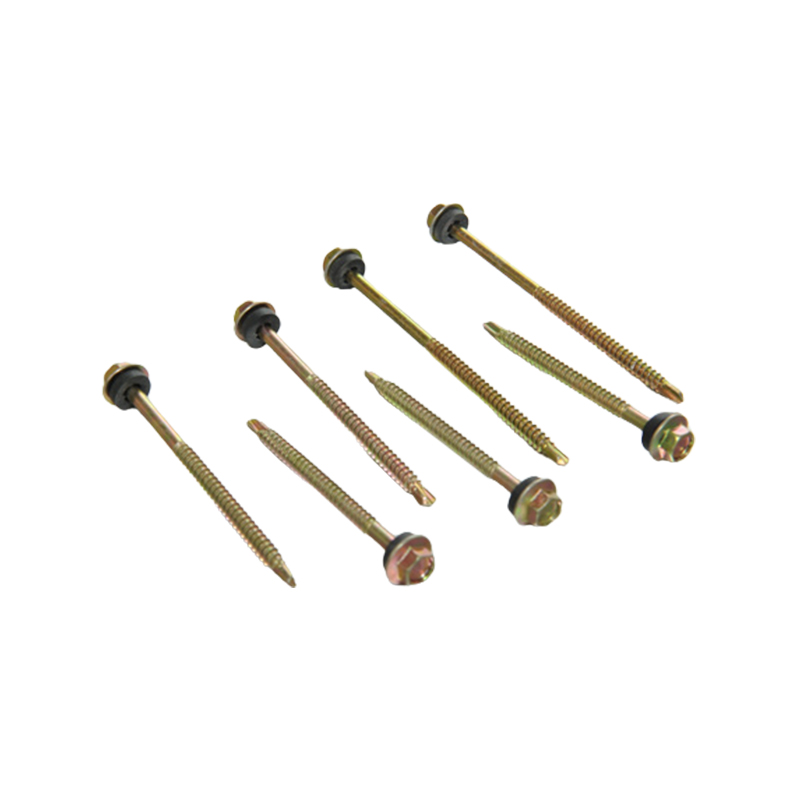 Hexagonal Flange With Pad Self-Drilling ScrewsWith its flanged head and pad, this self-drilling screw spreads load and helps seal surfaces, making it relevant for brackets that carry weight.View Product →
Volume buyers learn quickly that two boxes of the same nominal size can behave very differently on site. The variables behind that are set out in this guide to purchasing high-quality self-tapping screws.
Drilling the Hole, Step by Step
- Confirm the target is a stud, not a pipe or conduit. A metal-detecting stud finder plus a cautious exploratory hole is standard practice.
- Mark the centre of the web and check that the mark sits well clear of both flanges.
- Centre punch the mark so the bit cannot walk across the surface.
- Start with a small pilot bit, roughly 1/8 inch cobalt or a step drill, at low speed.
- Hold the drill perpendicular. Steady pressure with no side load produces a round hole; wobbling produces an oval one that grips nothing.
- Deburr the hole edges and check the diameter before moving up a size.
- Enlarge in small increments. Never jump straight to the final diameter on thin steel.
If the fixture is heavy, drill one stud first, test-fit the bracket, and only then repeat the process on the second stud. Adjusting a wall plate after three holes are already in the frame is an expensive way to learn the layout.
Mistakes That Weaken a Frame
- Drilling the flange or the corner radius instead of the web. This is the single most damaging habit in metal framing.
- Enlarging a hole because a fastener does not fit. Choose the correct screw diameter instead.
- Drilling through both walls of a stud and leaving an oval opening that captures no thread.
- Stacking holes vertically in the same stud rather than distributing them.
- Over-torquing self-drilling screws on 25 and 20 gauge steel until the thread strips.
- Drilling blind into unknown cavities where cables, conduit or plumbing may sit.
None of these failures is visible on the day of installation. They show up as cracked drywall joints, a sagging bracket, or a fastener that will not hold the second time it is tightened.
Bits, Speeds and Torque in Practice
Titanium-coated bits are the most common disappointment in this work. The coating raises surface hardness but does nothing for the underlying high-speed steel, so the cutting edge dulls on 16-gauge material after a handful of holes. Cobalt bits and step drills handle cold-formed steel far more consistently. Run small bits at roughly 500 to 800 rpm with firm, even pressure, because a fast light pass overheats the edge and work-hardens the steel under the point.
Impact drivers are convenient but unforgiving on light-gauge studs. On 25 and 20 gauge, the hammering action strips threads and elongates holes. A clutch-equipped drill set to a low torque value, or careful trigger control, produces a much more reliable seat, and the screw head should sit flush without crushing the web.
A drop of cutting fluid or light oil keeps the bit cool and leaves a cleaner hole edge. That matters when the fastener has only a few thousandths of an inch of steel to grip.
Drilling into metal studs comes down to four numbers: gauge, hole diameter, edge distance and screw geometry. Measure the gauge, keep the hole centred in the web and well under half the stud depth, leave the flanges untouched, and match the fastener to the connection. Do that and the steel will hold exactly what it was designed to hold.